")
Design in Motion: Your First Step into 3DS Max Interior Walkthroughs
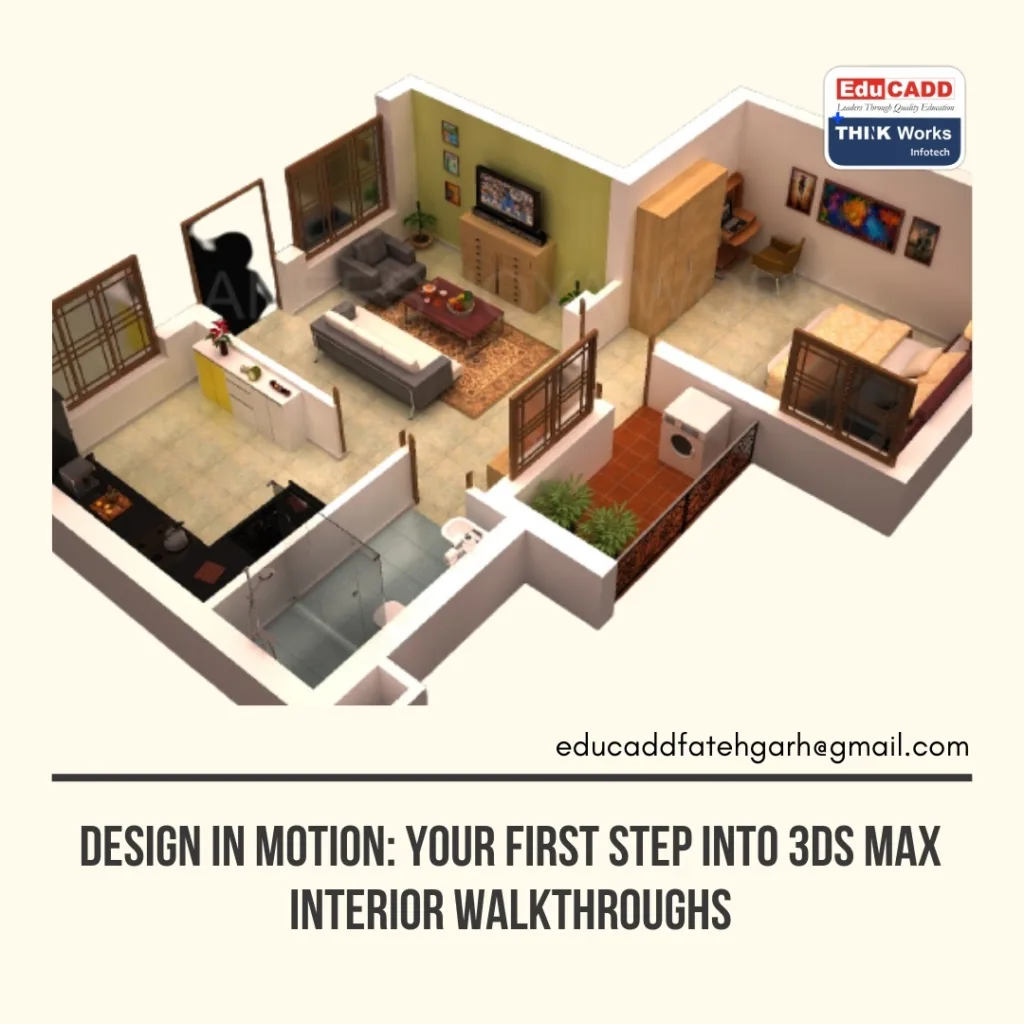
In the world of interior design, visual storytelling has become a game-changer. Clients no longer want to see flat layouts or static 3D renders; they crave a realistic walk-through experience that allows them to virtually step inside a space before it’s built. This is where 3DS Max for interior walkthroughs shines. It empowers designers to create immersive, photorealistic environments that feel alive.
This beginner’s guide will walk you through the essentials of using 3DS Max to create stunning interior walkthroughs. We’ll cover the basics, from setting up your project to rendering a smooth, engaging tour. Whether you’re a design student or an aspiring visualizer, you’ll find this guide practical, beginner-friendly, and ready to help you bring your ideas to life.
1. Why 3DS Max is Perfect for Interior Walkthroughs
3DS Max has been an industry favorite for decades, and there’s a good reason for that. Its precision modeling tools, realistic rendering capabilities, and seamless animation features make it ideal for creating interior walkthroughs.
One major advantage is its flexibility. You can design everything from a simple living room to a complex commercial interior with intricate lighting and textures. It also integrates easily with software like AutoCAD, SketchUp, and Revit, making it a powerful tool in the architectural visualization workflow.
Additionally, 3DS Max offers features like:
- Advanced lighting control – Achieve natural daylight or dramatic indoor lighting.
- Photorealistic rendering with Arnold or V-Ray – Get lifelike textures and shadows.
- Camera path animation – Create smooth, cinematic walkthroughs.
For beginners, this means you can quickly move from basic modeling to professional-looking presentations without needing multiple tools. In short, 3DS Max gives you complete control over design, atmosphere, and storytelling.
2. Getting Started: Setting Up Your First Walkthrough Project
Starting in 3DS Max might feel overwhelming, but breaking it into steps makes it manageable. Your first step is project organization.
Begin by creating a dedicated project folder. Store all textures, reference images, and 3D models here. This keeps your files linked correctly throughout the process. Then, set your project units to match real-world measurements—millimeters or meters for interiors—so your scale remains accurate.
Next, import your floor plan or base model. If you’ve drawn it in AutoCAD, you can directly import the file into 3DS Max. Use it as a reference to model walls, floors, and ceilings.
For a walkthrough, camera placement is essential from the start. Decide on the path your viewer will take and plan it logically. For example, begin at the entrance, move through key spaces, and end with a feature highlight like a balcony or open view. This planning ensures your walkthrough feels natural and engaging.
3. Building and Texturing Your Interior Space
Once your layout is ready, it’s time to bring it to life. Start by modeling the key architectural elements—walls, doors, windows, and major furniture. Work from large to small: establish the room’s structure before adding fine details.
Texturing is where your scene starts to feel real. Use high-quality materials for floors, walls, fabrics, and furniture. 3DS Max allows you to tweak glossiness, bump mapping, and reflection levels, which are vital for realism. For example, a polished marble floor should reflect light differently than a matte wooden floor.
Lighting is equally critical. Begin with natural light sources like windows and skylights, then add artificial lighting to highlight areas and set the mood. The combination of these sources makes the space warm, inviting, and believable.
When texturing and lighting, always test render small sections before committing to the whole scene. This saves time and ensures every surface looks perfect in the final walkthrough.
4. Animating the Camera for a Smooth Walkthrough
The real magic of 3DS Max for interior walkthroughs lies in camera animation. This is where your static design transforms into a dynamic journey.
To create a walkthrough, use the Target Camera or Free Camera tool. Position your camera at human eye level—typically around 1.6 meters. Then, plot a path using the spline tool. This path becomes your camera’s route through the scene.
Keep your camera movements smooth and natural. Avoid sharp turns or sudden stops, as they can disorient viewers. Instead, use gentle curves and steady pacing. You can also adjust the field of view for different effects—wider angles for spacious rooms, narrower views for intimate areas.
For an added cinematic feel, consider including depth of field. This subtly blurs objects outside the focal point, guiding the viewer’s attention. Once your animation is set, preview it within 3DS Max to ensure the flow feels right before rendering.
5. Rendering and Presenting Your Walkthrough
After modeling, texturing, lighting, and animating, it’s time for the final stage—rendering. This step determines the quality of your output, so it’s worth getting right.
Choose your rendering engine—Arnold, V-Ray, or Corona are popular options. Adjust your render settings for the best balance between quality and speed. For walkthroughs, you’ll render a series of frames that will later be compiled into a video.
Pay attention to:
- Resolution – 1080p is standard, but 4K offers sharper visuals.
- Frame rate – 24–30 frames per second for smooth playback.
- Lighting balance – Ensure no areas are too dark or overly bright.
Once rendering is complete, import the frames into video editing software like Adobe Premiere Pro or DaVinci Resolve. Add background music, labels, or your company logo to create a polished presentation.
When done well, your 3DS Max interior walkthrough becomes more than a technical showcase—it’s a sales tool that inspires clients and helps them visualize their future space.
Final Thoughts
Creating a walkthrough in 3DS Max might seem challenging at first, but once you understand the workflow—planning, modeling, texturing, animating, and rendering—it becomes an exciting creative process. For interior designers, it’s a powerful way to communicate ideas, evoke emotion, and stand out in a competitive market.
With patience, practice, and attention to detail, even a beginner can produce a walkthrough that feels cinematic and professional. And as you gain experience, you’ll find new ways to push the limits of what’s possible with 3DS Max for interior walkthroughs.

