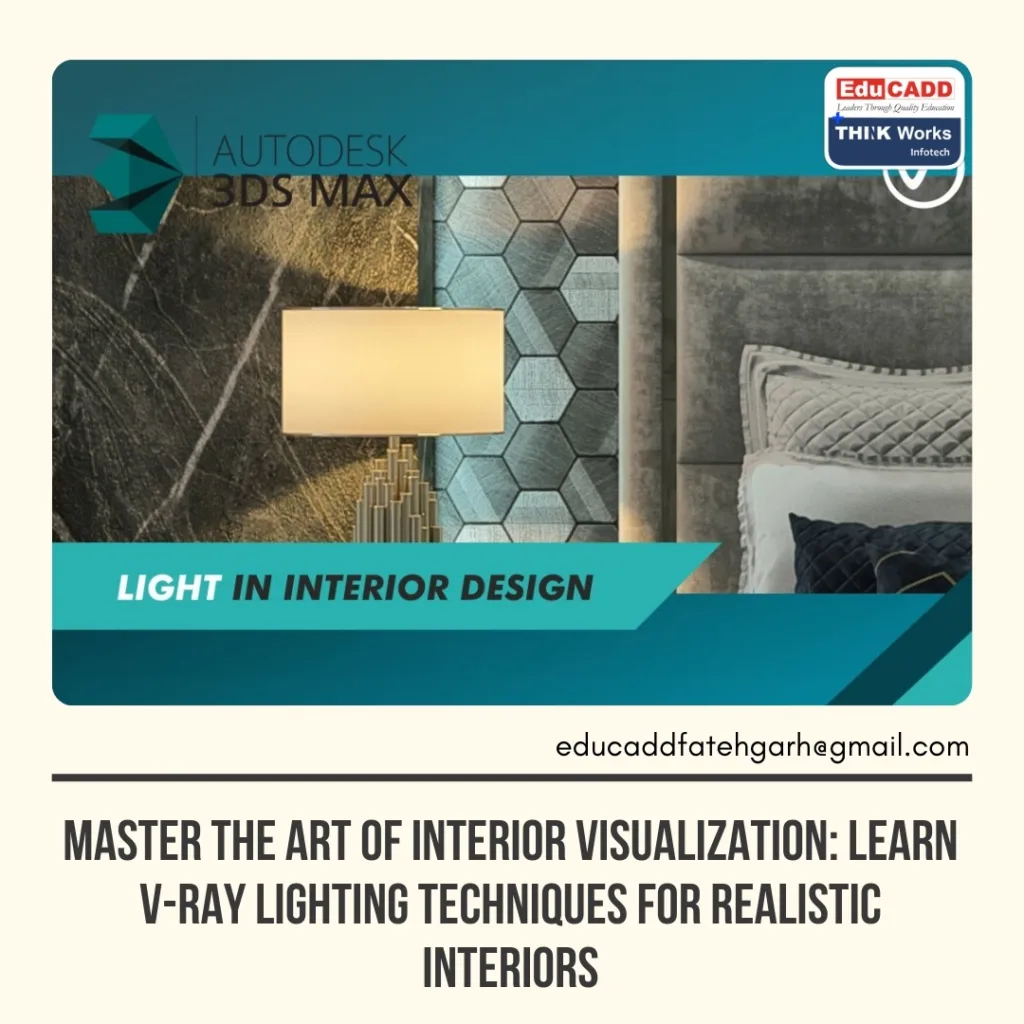
Master the Art of Interior Visualization: Learn V-Ray Lighting Techniques for Realistic Interiors
Creating stunning, realistic interior renders is no longer just about modeling and textures. Lighting plays a pivotal role in conveying mood, depth, and authenticity. Learning V-Ray Interior Lighting can elevate your renders from flat and lifeless to dynamic and immersive. In this guide, we’ll dive deep into practical tips, professional techniques, and creative insights that every interior visualizer should know.

Lighting is the bridge between your 3D models and photorealistic reality. With V-Ray Interior Lighting, you gain powerful tools to simulate natural and artificial light accurately, giving your interiors life-like textures, shadows, and reflections. Whether you are an aspiring designer or a professional 3D artist, mastering these techniques is crucial for producing top-notch visuals.
1. Understanding the Basics of V-Ray Lighting
Before applying complex lighting setups, it is essential to grasp the fundamentals of V-Ray lighting techniques for realistic interiors. V-Ray offers various light types, each with unique properties:
- V-Ray Sun and Sky: Mimics natural daylight. Ideal for large windows and open spaces.
- V-Ray Rectangle and Sphere Lights: Perfect for simulating lamps, ceiling lights, and accent lighting.
- IES Lights: Creates realistic light distribution based on real-world data.
- V-Ray Dome Light with HDRI: Provides realistic global illumination using HDR images.
Understanding the role of each light source ensures your interior renders reflect the physical behavior of light. Start with a simple scene to experiment with intensity, shadows, and color temperature.
Pro Tip: Always balance the light. Too many light sources can flatten the scene, while too few may leave areas unnaturally dark. Use subtle variations in intensity to mimic real-life lighting.
2. Daylight vs Artificial Lighting: Creating the Right Mood
Interior lighting often involves a combination of natural and artificial light. Using V-Ray lighting techniques for realistic interiors, you can create a dynamic interplay between these two sources.
- Daylight: Use V-Ray Sun and Sky for bright, natural illumination. Adjust sun angle and intensity based on the time of day. Early morning or late afternoon lighting creates warm tones, enhancing realism.
- Artificial Light: Lamps, chandeliers, and LED strips add depth and highlight focal points. Use V-Ray Interior Lighting to simulate soft, diffused illumination.
Transition Tip: When combining daylight and artificial light, ensure the color temperatures complement each other. For instance, sunlight is typically warmer (~5500K), while artificial lights may vary between warm (~3000K) and cool (~6000K). Proper balance prevents your scene from appearing unrealistic.
- Practical Example: Position a V-Ray Rectangle Light above a dining table while allowing sunlight to flow in through windows. This combination creates shadows, reflections, and depth in the room.
3. Advanced Techniques: Global Illumination and Light Portals
Realistic interiors depend heavily on how light bounces and interacts with surfaces. Global Illumination (GI) is one of the most powerful features in V-Ray for achieving realism.
- Primary and Secondary Bounces: V-Ray calculates how light reflects across surfaces. Ensure GI is enabled for accurate color bleeding and soft shadows.
- Light Portals: When using interior daylight, place V-Ray Light Portals in windows to guide sunlight inside. This technique accelerates rendering and enhances natural light distribution.
- Reflections and Refractions: Combine reflective materials with proper lighting to create realistic mirrors, glass, and metallic surfaces.
Transition Tip: Use subtle variations in light intensity and color to avoid flat, unnatural renders. Experiment with light bounce counts and GI settings for optimal balance.
Example Setup:
- Enable Irradiance Map for primary GI.
- Use Light Cache for secondary GI.
- Place light portals in all window openings.
- Adjust exposure to maintain highlights without overexposing the scene.
4. Color Temperature, Tone Mapping, and Post-Processing
Lighting in interiors isn’t just about brightness. Color and mood play a significant role in realism. When you learn V-Ray lighting techniques for realistic interiors, understanding these aspects is essential.
- Color Temperature: Assign warmer colors to indoor lights (~2700K-3500K) and cooler colors to sunlight (~5500K-6500K).
- Tone Mapping: Adjust V-Ray Frame Buffer settings to control contrast, saturation, and highlights. This prevents images from appearing flat or overexposed.
- Post-Processing: Use tools like Photoshop or Lightroom for minor adjustments. Subtle tweaks in brightness, contrast, and color balance can make your render pop.
Transition Tip: Always preview your render in a neutral monitor environment. Avoid extreme saturation or contrast during the initial render to maintain flexibility in post-processing.
Pro Tip: Using a combination of GI, HDRI maps, and tone mapping will make your interior scenes feel naturally lit and immersive.
5. Practical Workflow: Step-by-Step Lighting Setup
To apply V-Ray lighting techniques for realistic interiors, follow a structured workflow:
- Model Preparation: Ensure all geometry is clean and textures are applied. Remove overlapping faces to avoid artifacts.
- Assign Materials: Proper materials enhance light reflection. Use V-Ray materials with correct diffuse, reflection, and glossiness values.
- Set Up Primary Lighting: Place V-Ray Sun/Sky or HDRI Dome Light. Adjust angles and intensity based on your scene.
- Add Artificial Lights: Place rectangle, sphere, or IES lights to simulate interior lamps. Use low-intensity settings to complement daylight.
- Enable GI and Light Portals: Optimize light bounce and direct sunlight penetration.
- Render Test Shots: Start with low-resolution previews to check shadows, reflections, and light distribution.
- Fine-Tune Color and Exposure: Adjust exposure, white balance, and light intensity for realism.
- Final Render and Post-Processing: Use V-Ray Frame Buffer adjustments and subtle post-processing to enhance depth and color.
Following this workflow ensures consistency, efficiency, and realistic results.
Conclusion: Elevate Your Interior Renders with V-Ray Lighting
Mastering V-Ray Interior Lighting is a combination of understanding physics, art, and software capabilities. From basic daylight setups to advanced GI and post-processing, every step contributes to photorealism.
Consistent practice, experimentation, and attention to details like color temperature, shadows, and reflections will set your renders apart. By integrating these techniques, you’ll not only create stunning visuals but also gain a competitive edge as an interior visualization expert.
